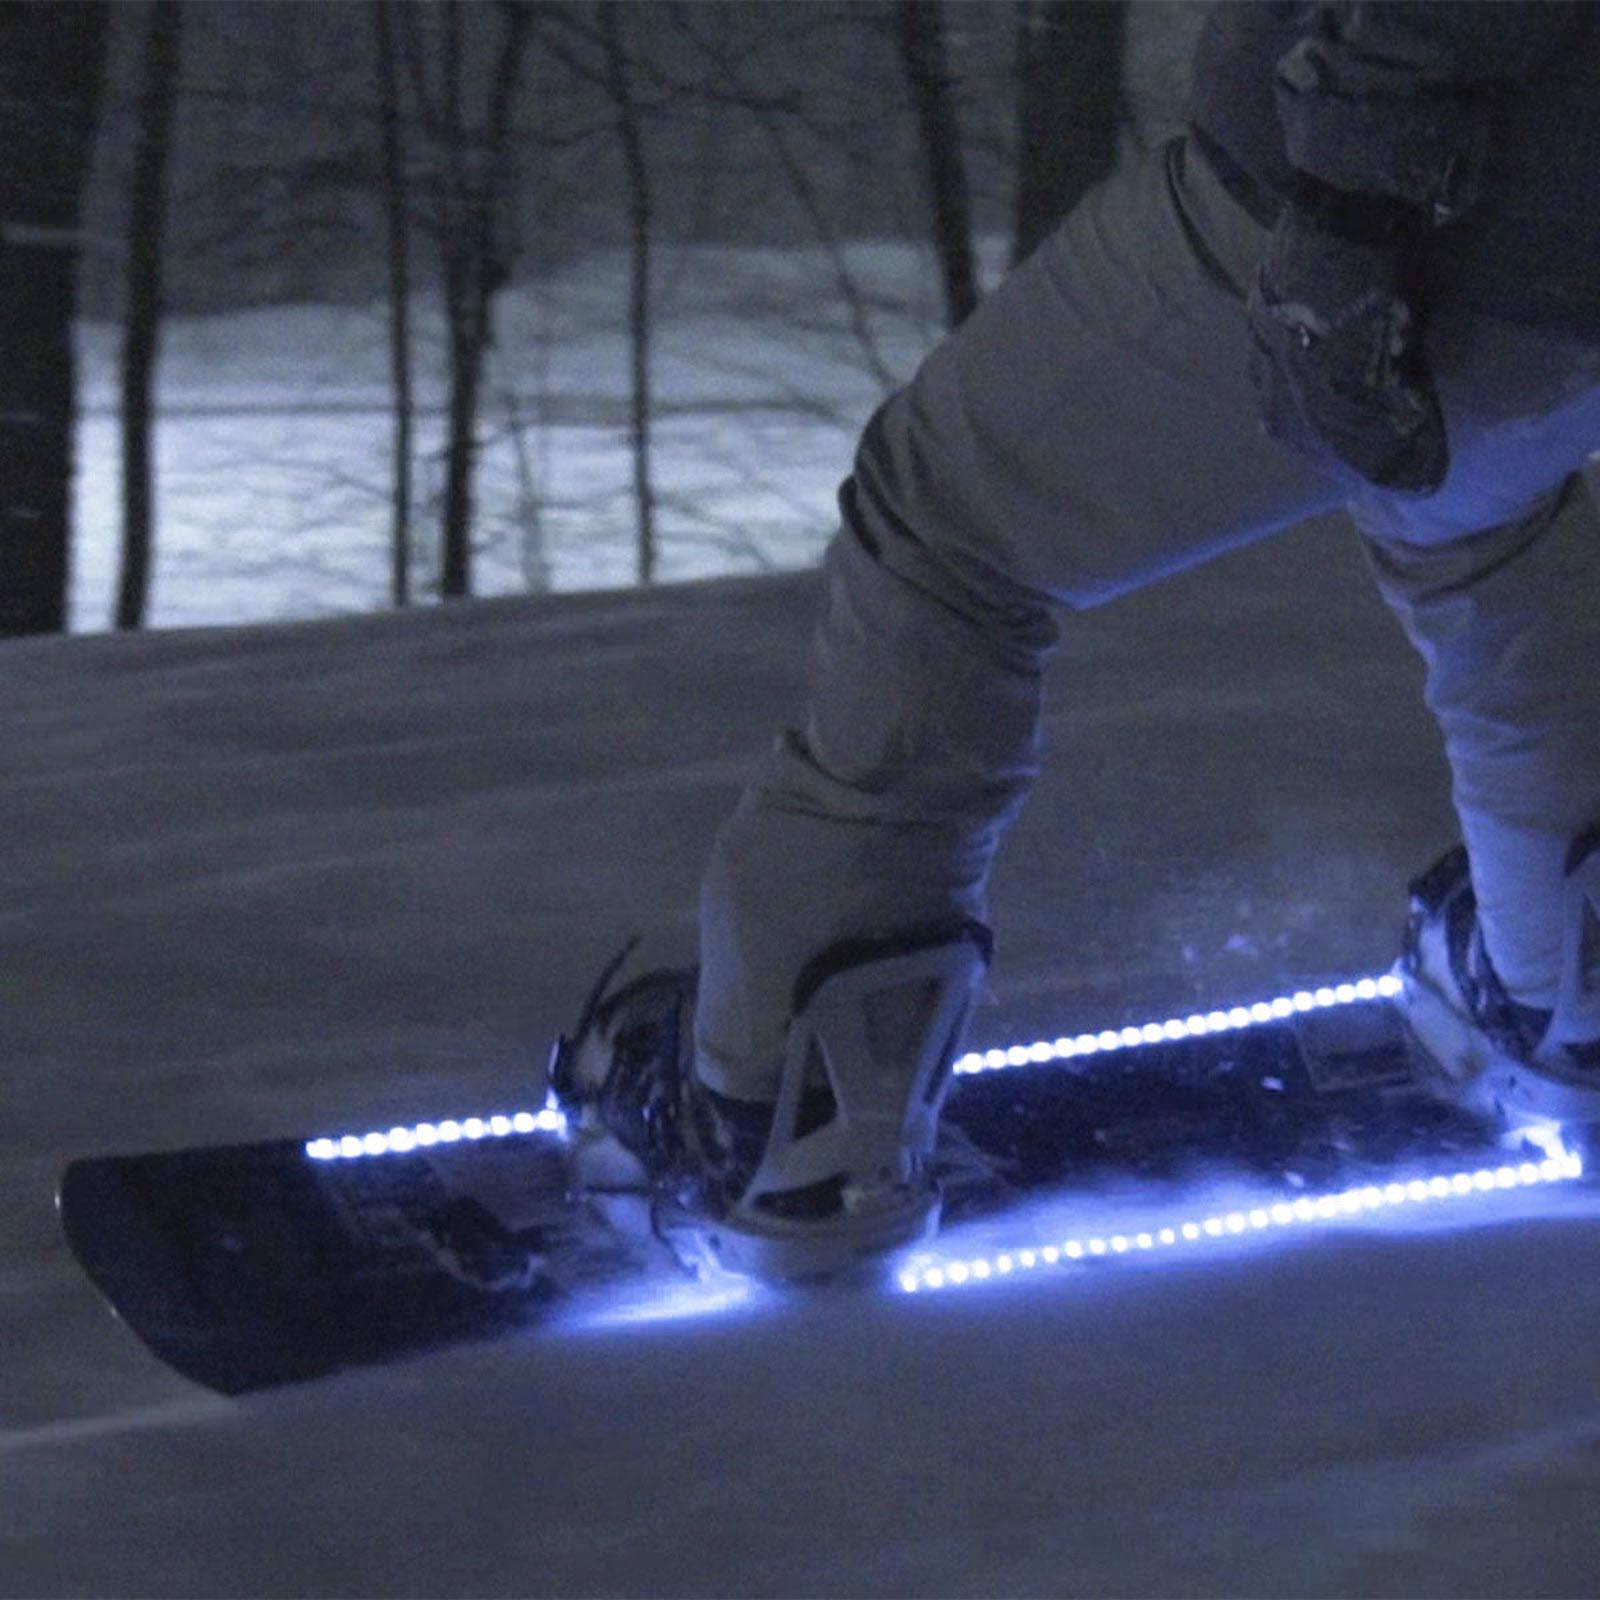
On a dark night in 2012, brothers Dakota and Garret Porter were preparing to go snowboarding when the idea hit them: if they had lights on their boards they could illuminate the dark slope, be much more visible to others, and look pretty cool too. So they founded ActionGlow and spent the next 2 years engineering and testing their prototype. Their business took off from there.

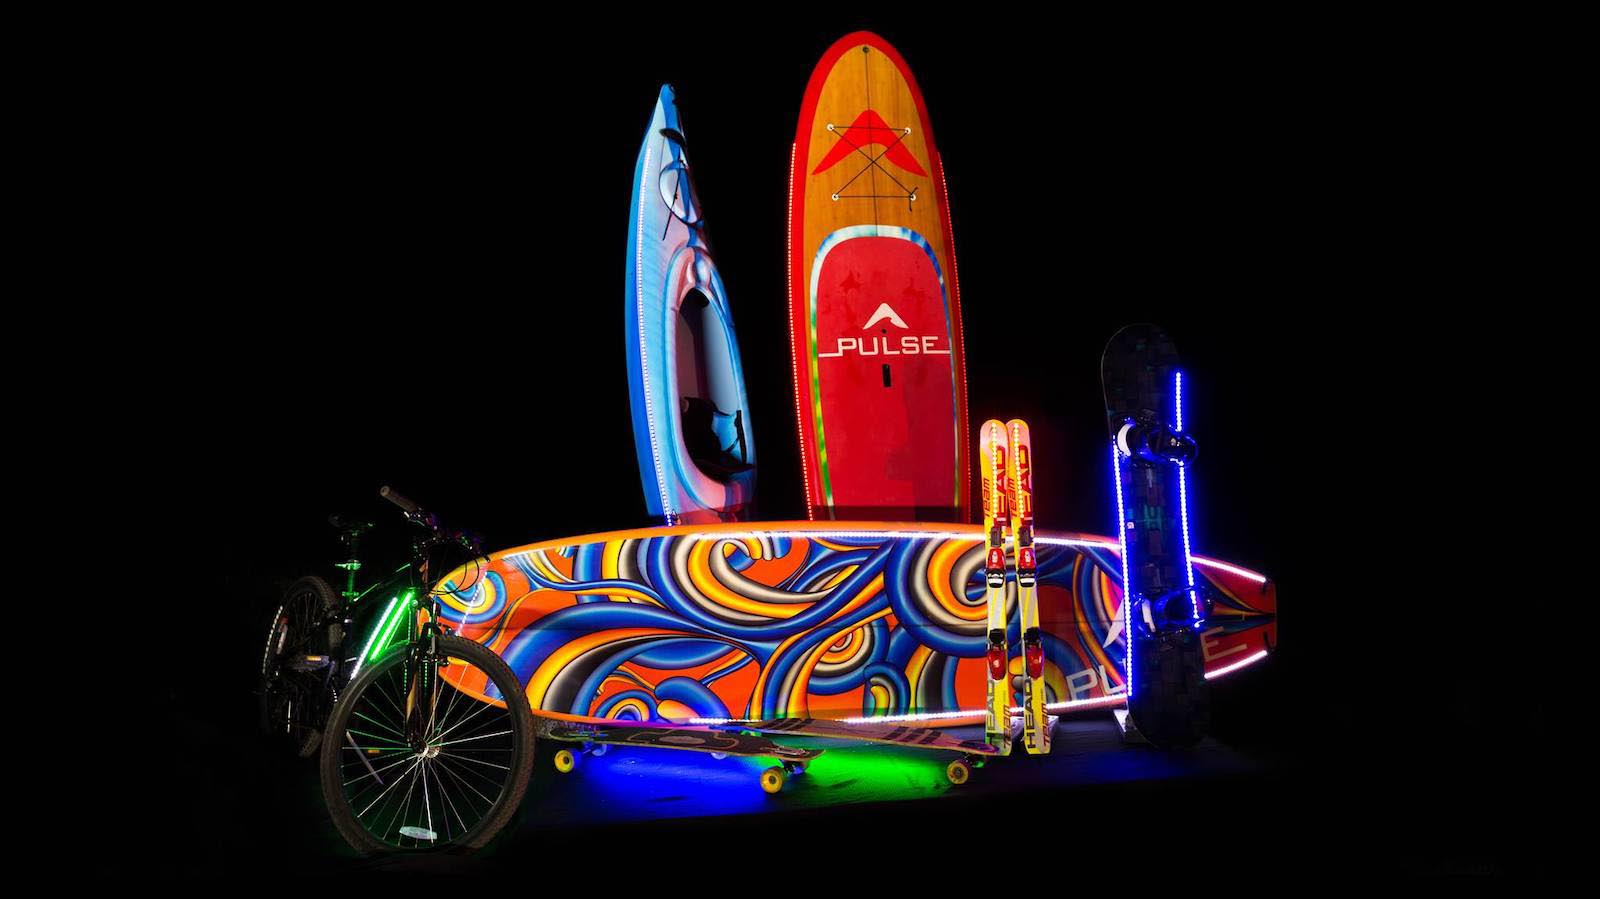
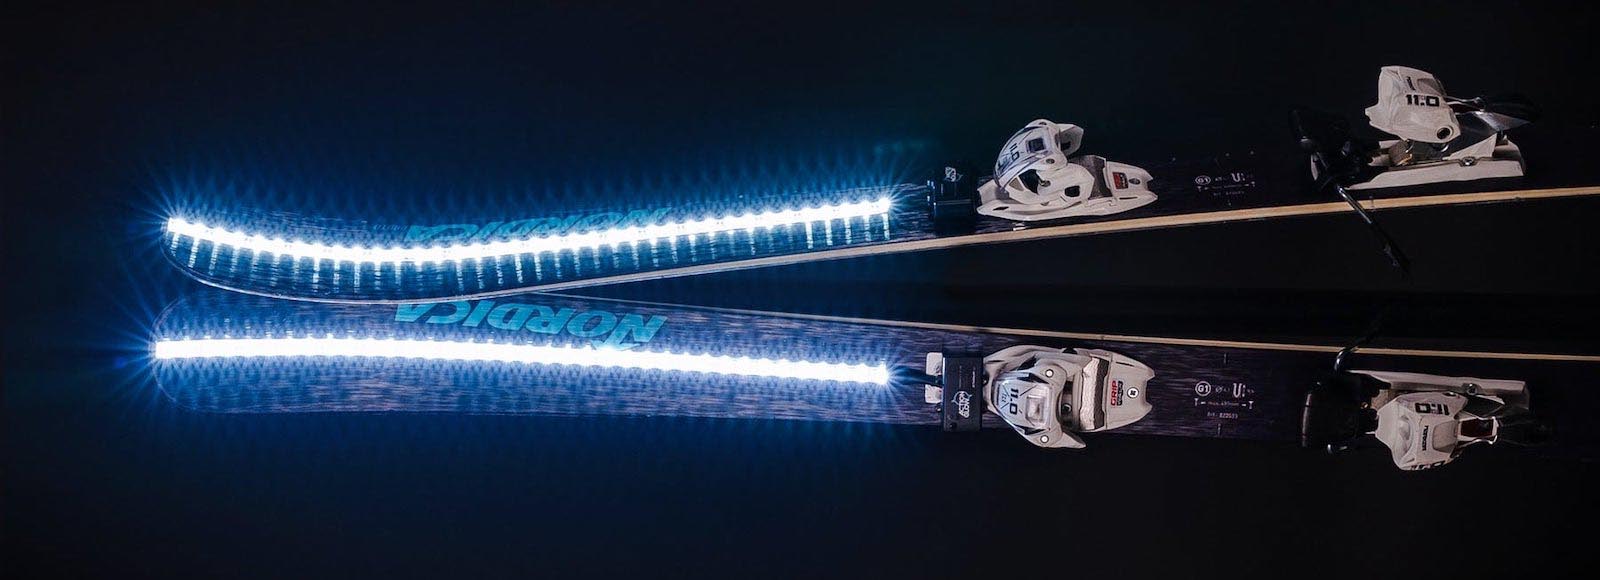
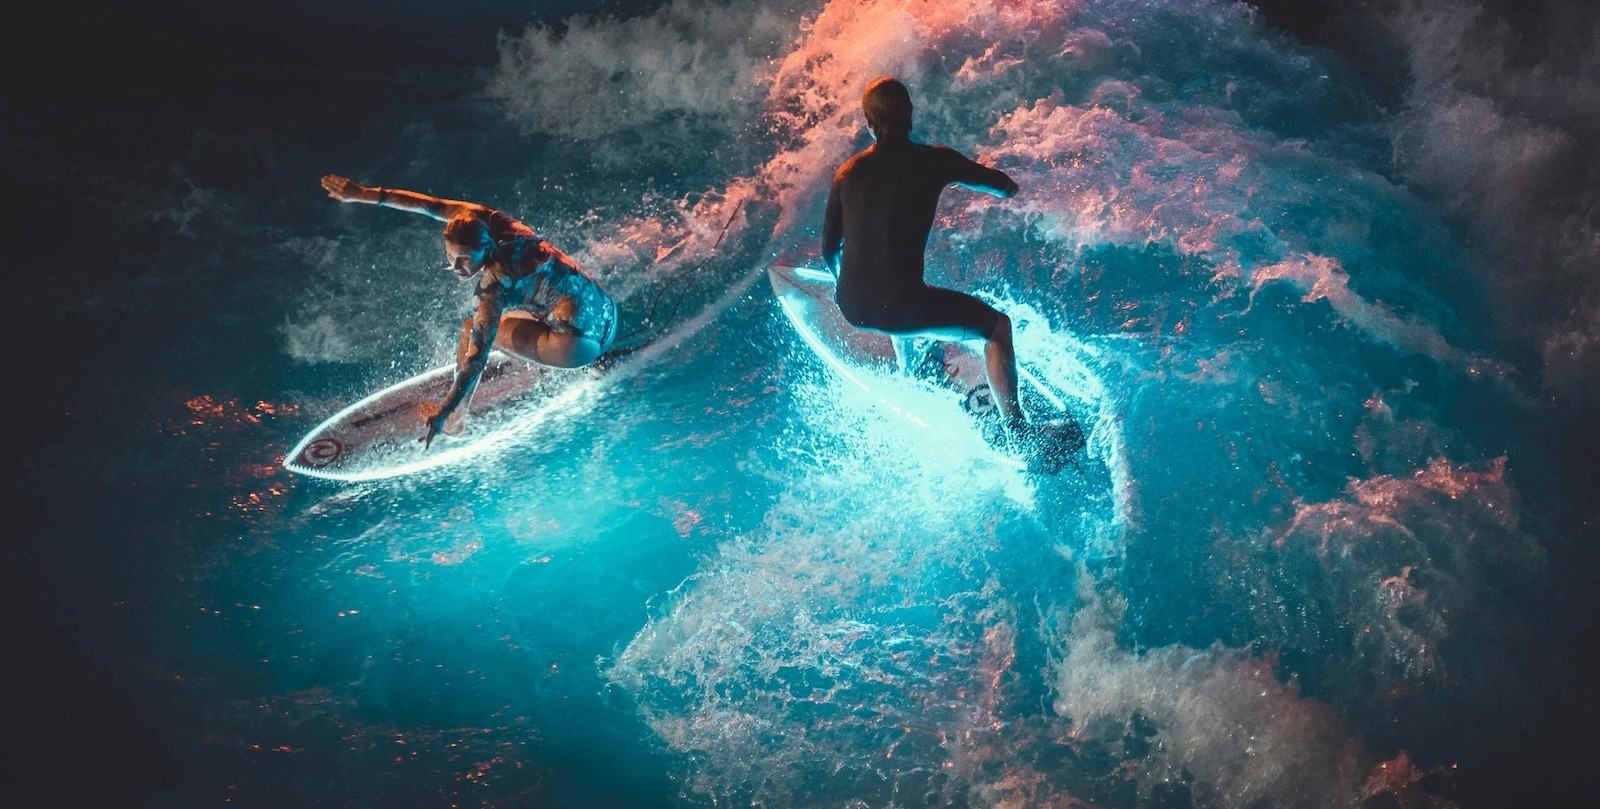
10 years later, ActionGlow makes patented light kits for snowboards, skis, wakeboards, surfboards, stand-up paddleboards, kayaks, longboards, and bikes. ActionGlow LED Lighting Systems were designed to individualize you and your sport, while also being able to handle the roughest terrain. With a 120 degree viewing angle and high light output, they can be seen from over a half-mile away. The lights are color changing, 100% waterproof, and ultra lightweight. They can be installed in about 5 minutes with no tools and all their products have a 1 year warranty.

ActionGlow kits include LED light strips, power packs, and a special adhesive. The lighting systems are powered with a standard 9V battery, and will last approximately 10 continuous hours before you need to swap the battery out. They are attached with 3M VHB industrial strength adhesive and can be removed without damaging your equipment.
ActionGlow Founders
Dakota was just 16 years old when they founded ActionGlow. He is an action sports enthusiast with a love for snowboarding, surfing and longboarding. Dakota is the CEO and is involved in all aspects of the business, including much of the creative work like designing logos and product packaging, creating videos, and building the website. He now has an associated degree in business.
Garret was just 13 years old when he cofounded the company. He loves to snowboard, surf, hunt, fish and compete with his older brother. Garret obtained his Associate degree in business in just 1 year, immediately after finishing high school. Garret focuses on financials, sales, and business strategy.
The two had no experience in business when they started the company but found mentors in their community to help keep them on track. The brothers now give back to their community by helping other young people understand what it takes to start a successful company.

How They Got Their Start
Dakota and Garret officially launched ActionGlow in 2013 at a local business expo in Michigan and sold out in just 48 hours. They continued to sell their original model for 2 years before overhauling their manufacturing process to create an upgraded system that is faster to produce.
Dakota and Garret initially sought funding through a grant from the state of Michigan’s Business Accelerator Fund. They were finalizing the grant paperwork when they were told they would not qualify after all. It was a setback, but they decided it would be more beneficial to take on a business partner instead, someone who could help the business beyond just supplying money. They pitched their business to 3 local investors they had meet during their first years as a startup. After months of preparations, meetings and due diligence they finally secured funding from a Michigan-based angel investor.

Installation Instructions
- Make sure sporting equipment is dry and at room temperature
- Install 9V battery into battery housing before applying to sporting equipment to test the LED lights and ensure product was not damaged in shipping. (Make sure the 9V battery is snapped into the battery connector securely and flipped around so that the connector is pressed against the back end of the battery housing. The excess wire needs to be tucked on top of the 9V battery – this will allow for a flush watertight seal).
- Decide the layout you want for your LED lights (LED lights need to be applied in a straight line. Trying to curve the LED lights will not allow proper adhesion). Keep in mind the placement of the battery housing in correlation to the length of the battery housing lead wire. For example, the battery housing should be tucked in close to the bindings for snowboard and ski applications.
- Clean surface area where the LED lights and battery housing(s) will be applied first using a wet washcloth. After your sporting equipment has dried, use the included alcohol swab to clean areas once more.
- Apply the included adhesive promoter packet to areas where the LED lights and battery housing(s) are to be installed.
- Let adhesive promoter set for up to three minutes and then apply LED lights by slowly peeling off the protective film on the back as you firmly press the LED lights onto your sporting equipment. Once the LED lights are in place, go back over them firmly with your thumb to ensure proper adhesion throughout the entire length of the LED light strip(s).
- Remove the protective film from the adhesive tape on the back of the battery box and apply to your sporting equipment by pressing firmly.
- Keep sporting equipment at room temperature for 24-48 hours on a flat surface to allow adhesive to bond.
- If LED lights need to be shortened to correctly fit your particular sporting equipment the LED light strips can be cut after every second LED diode between the copper pads. If cutting is necessary, it is recommended that you seal the cut end with silicone (silicone not included).

